Situation brief00 Cover
See where the water is, as soon as a clear satellite look allows.
Rapid Flood Mapping draws the standing-water extent over your affected area from the first usable cloud-free multispectral pass, and sends it as a numbered situation brief your coordination group can act on.
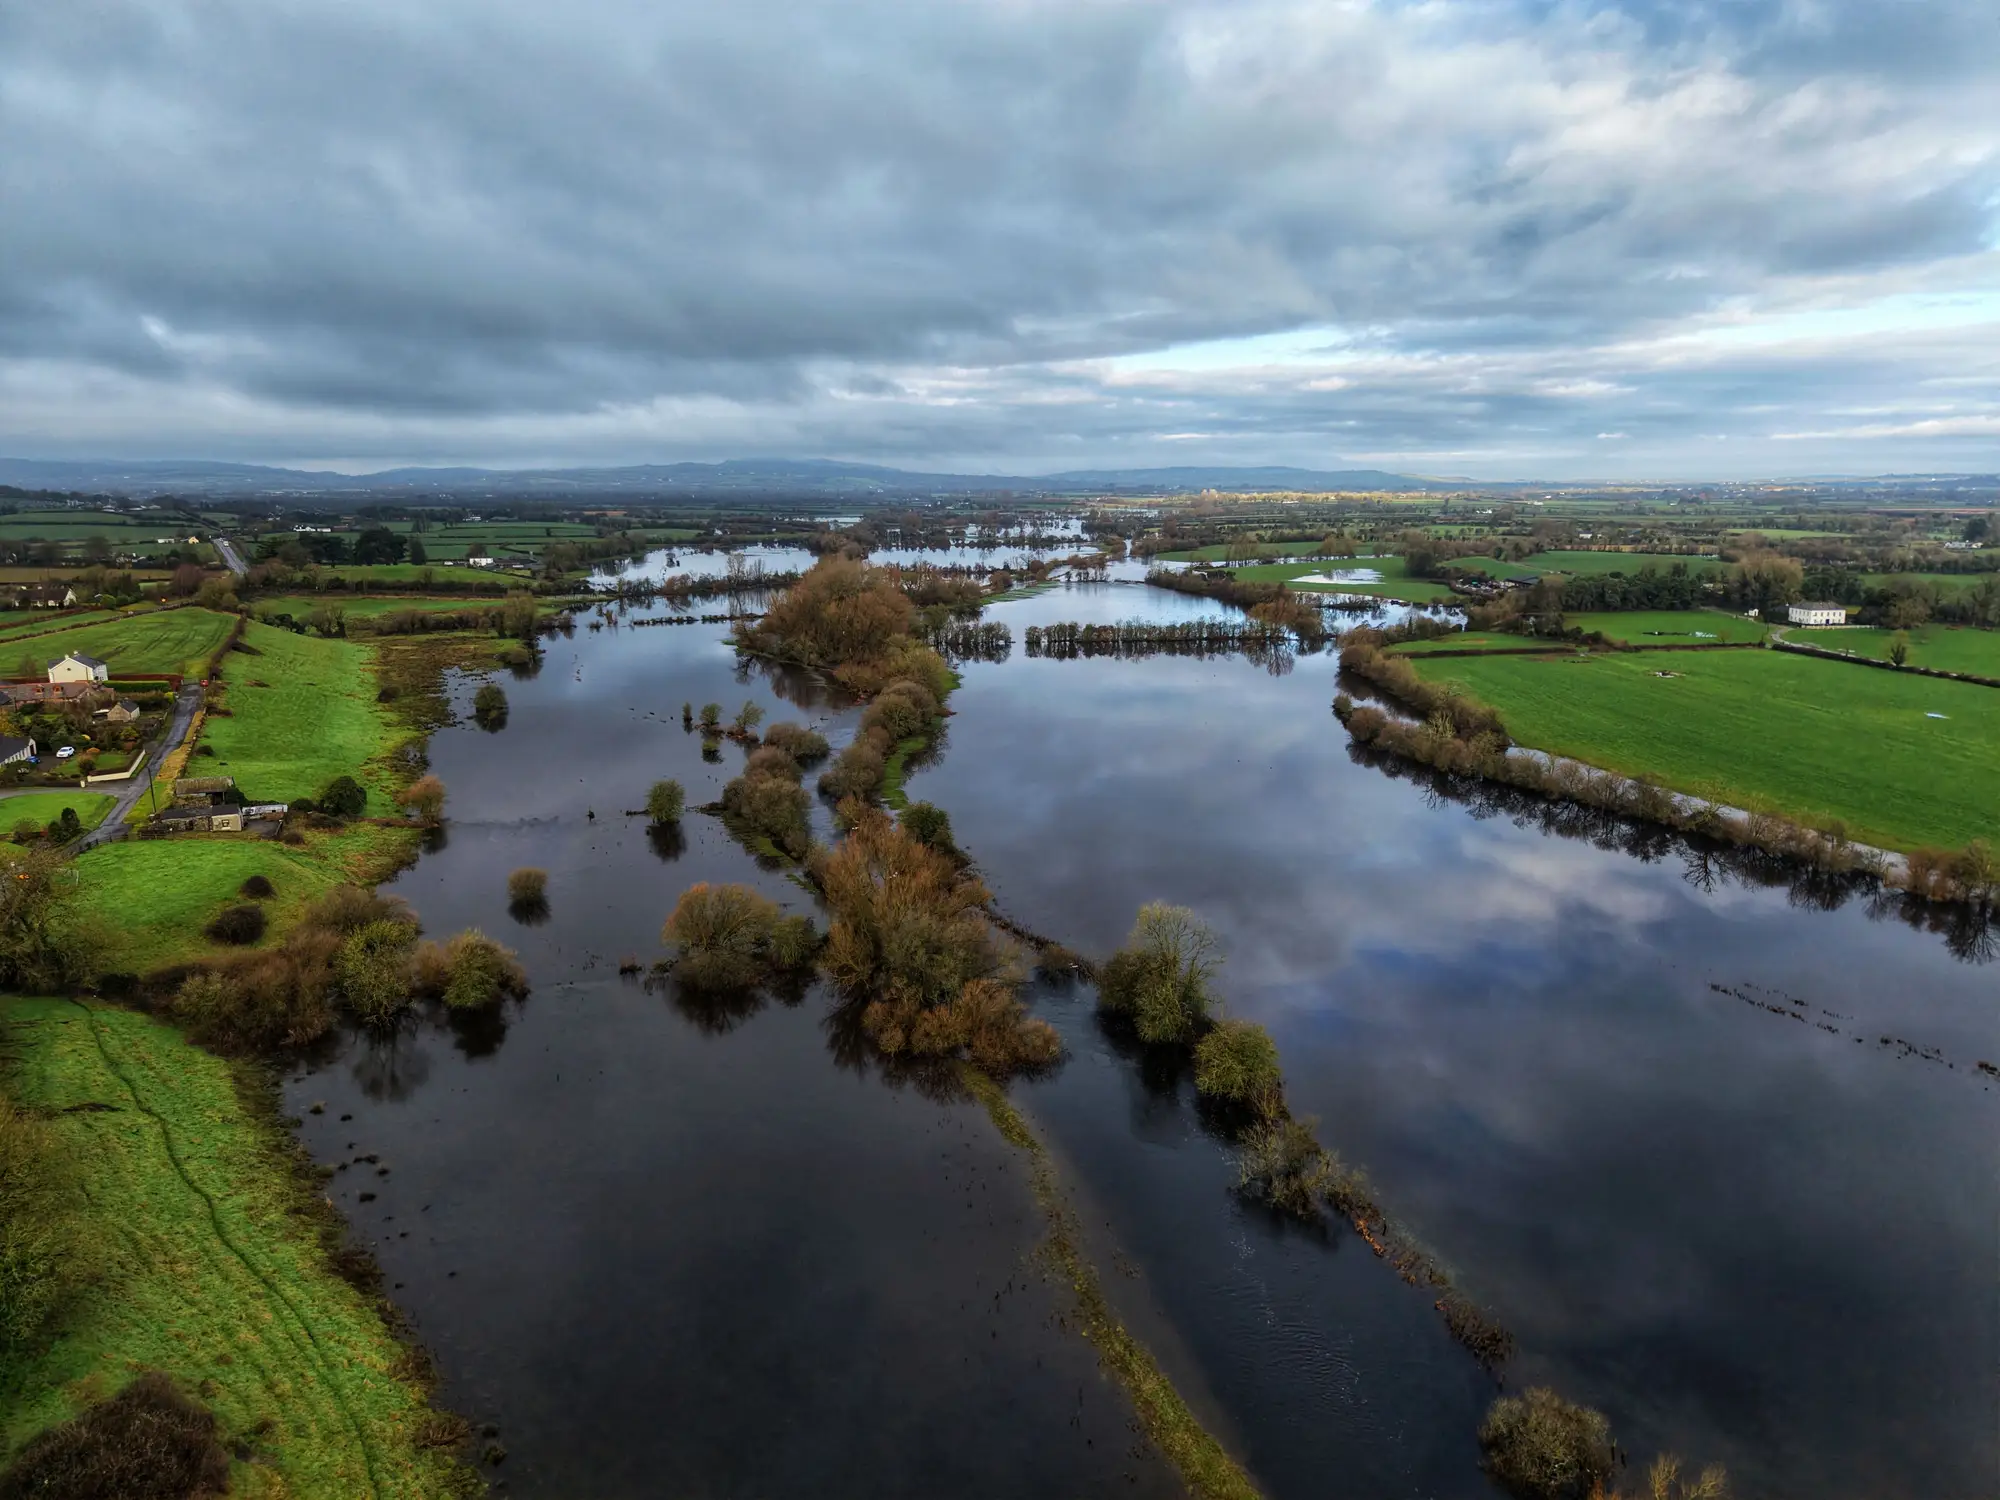
01The job today
The first hours of an activation
The flood is declared and the operations centre fills up. The duty officer has a river reach or a municipality boundary, a stream of calls, and a request from the coordination group that is always the same: where is the water now? What comes in is whatever came in. A satellite scene someone found, some drone stills, photographs from crews, gauge readings that say the river is high without saying where it went.
Someone in GIS opens the scene and traces the water's edge by hand, polygon by polygon, checking it against the photographs. It takes hours. The map that comes out is only as good as the scene it started from, it may not cover the whole affected area, and the next shift cannot easily tell how it was drawn. Meanwhile the duty officer briefs from the previous map, and the first crews go where the calls are loudest.
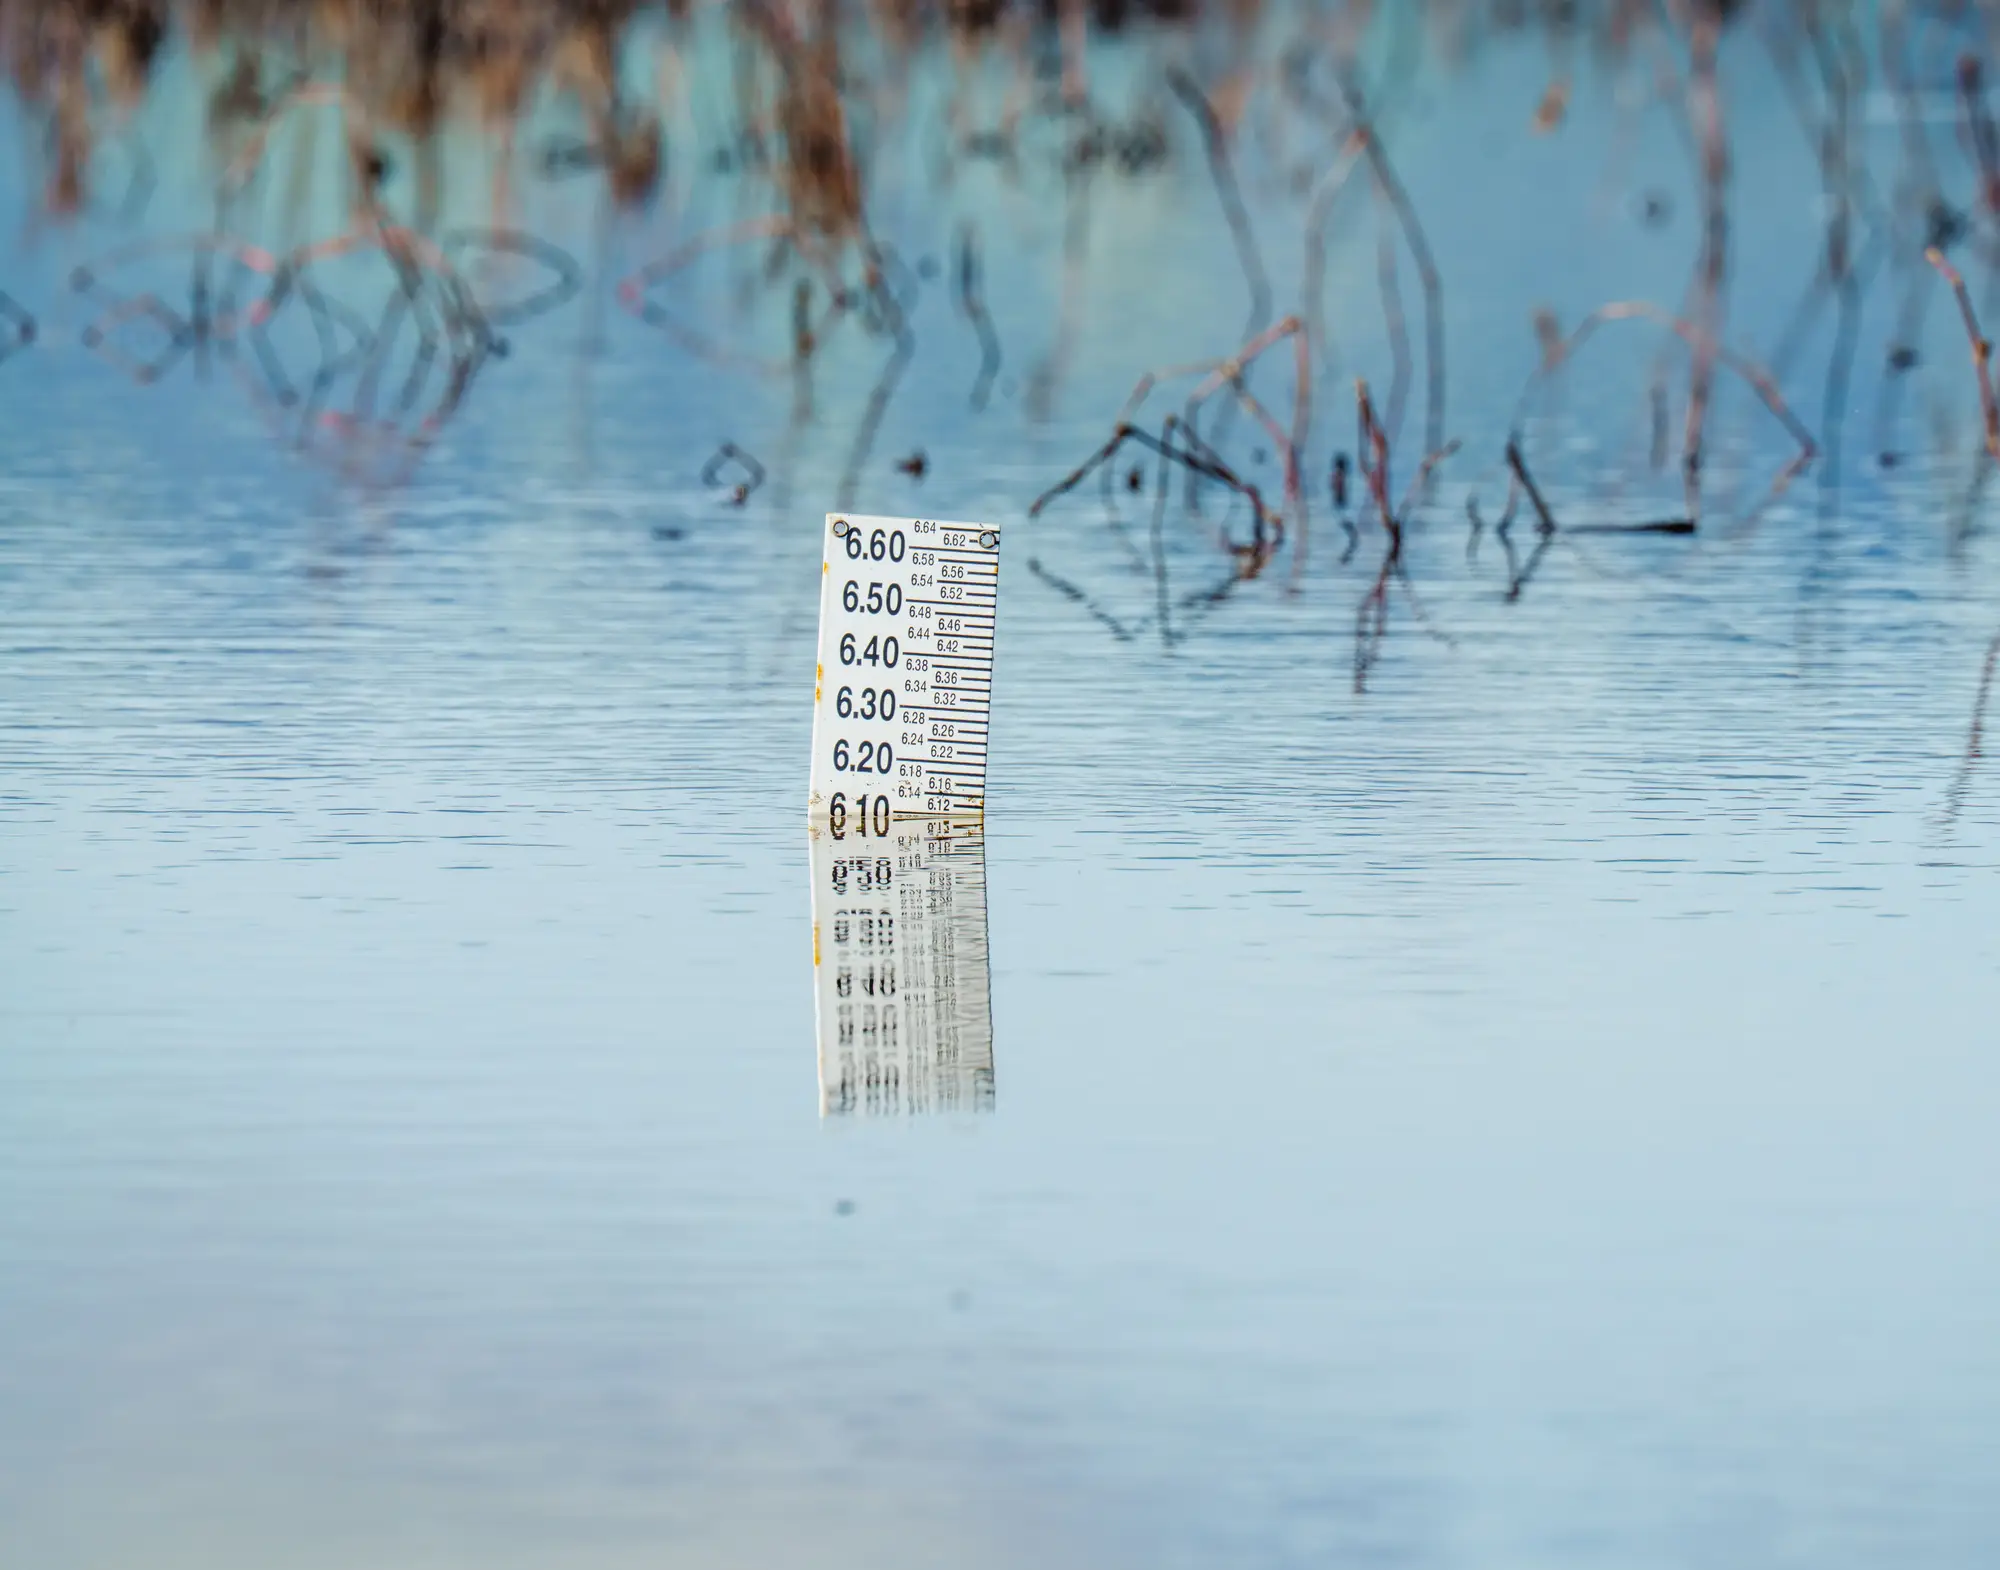
Rapid Flood Mapping takes over the tracing. You give the affected area, and when the first clear look is available the extent comes back as a layer and a numbered, dated brief.
02What you get
What comes back
2.1Flood extent layer
GIS layer
Standing-water polygons over your affected area, from the first usable cloud-free multispectral pass. It opens as a layer beside the roads and shelters you already hold.
2.2Situation brief
PDF map
A numbered, dated map document you can hand to response coordination or paste into the situation report. Each usable pass gets its own number, so the coordination group can see which map they are looking at.
2.3Change comparison
Overlay
Where a pre-event baseline is available, the extent is shown against the area's normal water, so the group can tell the river in its channel from water that has gone over the bank.
2.4GIS export
Files for your GIS
The extent as files your response mapping system reads, so it can join the common operating picture.
03How it works
From activation to brief
Step 1: Send the affected area
Give us the polygon, or a river reach or municipality name we can turn into one, and when the event started.
Step 2: We wait for a clear look
The pass is tasked as soon as a cloud-free multispectral look at the area is possible. We tell you when it is captured.
Step 3: Water is traced
Segmentation and change detection separate standing water from land in the new pass.
Step 4: Layer and brief delivered
You receive the extent layer, the change comparison where a baseline exists, and a dated situation brief.
04Read before ordering
Limits
Limit 1
It waits for a clear sky
This is optical imagery. Cloud over the affected area, heavy rain still falling or a storm that hangs about can push the first usable pass past the first day. We do not name a delivery time in advance, and we will tell you plainly when the sky is the reason.
Limit 2
Daylight only
A peak that comes overnight is captured on the next daylight pass. The map shows the water at that look, which may be after it has started to fall.
Limit 3
Per pass, not a live feed
Each usable pass produces one map. Between passes the extent is not updated, so the brief is a dated snapshot and says so on its face.
Limit 4
Extent, not buildings
At 3–10 m a pixel is about the width of a street or a small building. The layer shows where water stands, not whether a particular house, road or bridge is flooded. Finer imagery would be needed for that.
Limit 5
Extent only
We map where the water is. We do not estimate damage, cost or people affected.
05Audience
Who it's for
For
- Civil protection duty officers and operations centre staff who need to know where the water is before they brief.
- GIS officers on the response desk who want the extent drawn so they can spend the hours on the rest of the picture.
- Coordination groups who want a numbered, dated map each time a new pass is usable.
Not for
- Damage assessment, cost estimates or casualty counts.
- Building-by-building flood status.
- A live feed or minute-by-minute tracking of the water.
- Overnight-only needs, since optical imagery works in daylight.
06FAQ
Honest limits
How fast after the flood is this available?
It is tied to the first usable cloud-free multispectral pass over your affected area. That can be soon after the event, and heavy cloud can push it past the first day. We will not quote a fixed time.
Does 3–10 m show individual flooded buildings?
No. It shows the extent of standing water. Whether a given building or road is flooded needs finer imagery than this service uses.
Is it updated continuously during the event?
No. It is delivered for each usable pass. There is no live feed, and each brief carries the date of its pass.
What if the water peaks at night?
Optical imagery needs daylight, so a night-time peak shows up on the next daylight pass, once you have a clear look.
What do we need to send you?
The affected area, as a polygon or a river reach or municipality name, and the date the event started. If you hold a pre-event baseline or a view on what normal water looks like there, say so. We start from that and work out the rest with you.
Does it estimate damage or cost?
No. It maps extent only.
How do we check it against what we know on the ground?
Lay the extent layer over the gauge readings and the field photographs you already hold. Where they disagree, tell us and we will look at the pass again with you.
Will it open in our mapping system?
The extent comes as files a GIS reads, so it should sit as a layer beside your roads and shelters. Send us your system and we will confirm the format.
Who owns the imagery and the map?
Ownership and licence terms for the layer, the brief and the underlying imagery are written into the agreement before anything is ordered. Ask for them early if your legal team needs to review them.
How is it priced?
Terms are agreed with you before anything is ordered. A specialist will confirm them.
07Next step
Tell us which area you would map first.
Send us the reach or the boundary. We will tell you plainly how the next clear look would reach you.
Get started